MiniRobotLanguage (MRL)
PIS.attach/detach Command
PlugInSend attach/detach
Intention
The PIS.attach-Command will attach a Buttonbar to a Target Window.
The PIS.detach-Command will detach a Buttonbar from the Target Window. After that the Buttonbar can be moved around.
"at","attach"
PIS.$$PIN|attach|$$ULT|0|0
"dt","detach"
PIS.$$PIN|detach
Using the "attach/detach" SubCommand, you can define whether and where a Plugin is attached to an existing window.
To clearly specify the Position of the Plugin, you need to decide whether the PlugIn Buttons should be arranged vertical or horizontal.
This is the first step. For this you use the "sv" or the "sh" SubCommand.
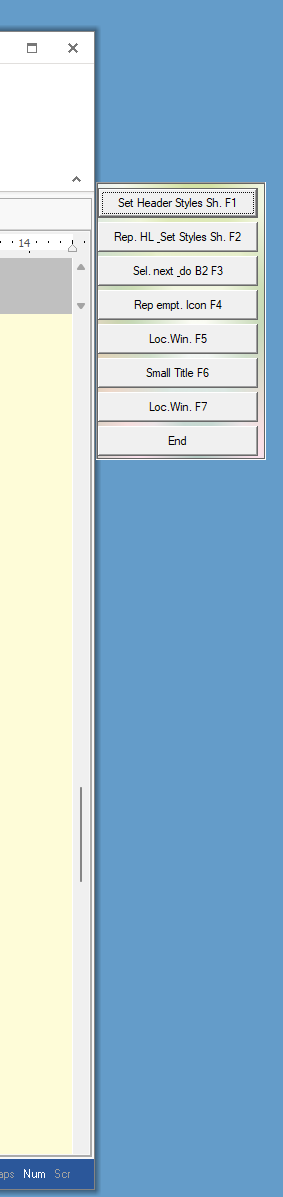
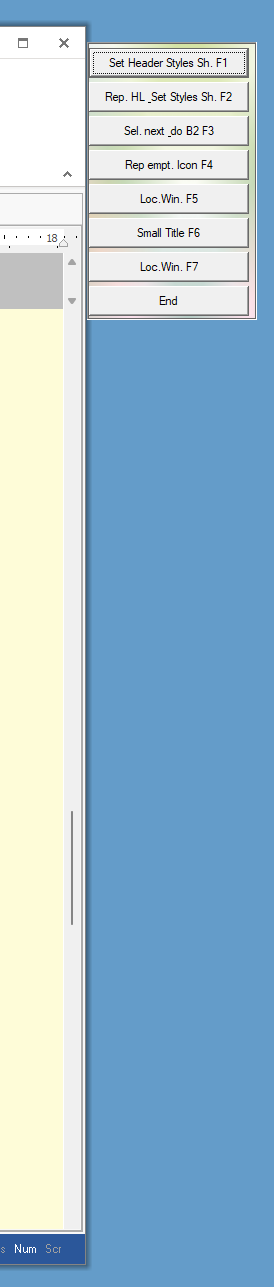
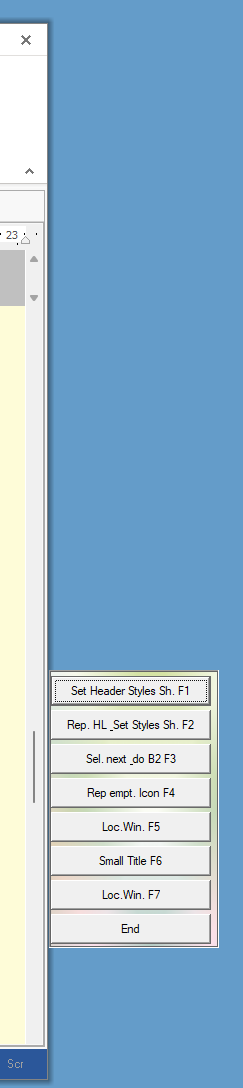
This is a vertical PlugIn 01. It will be arranged vertical, using:
' Plugin vertical
PIS.$$REA|sv
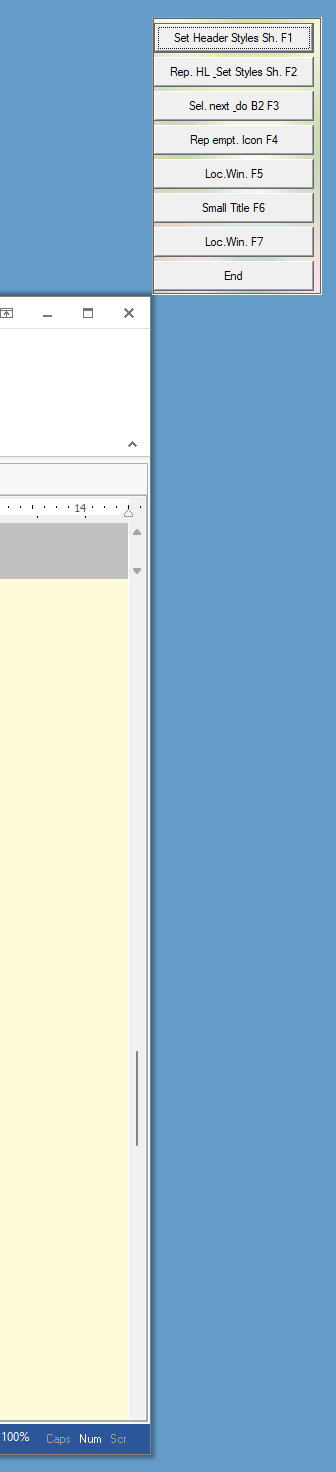
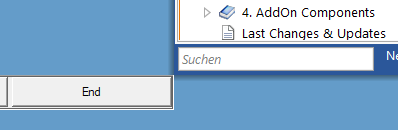
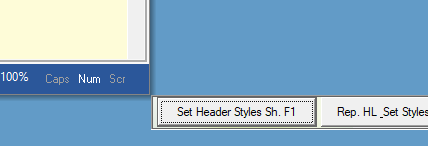
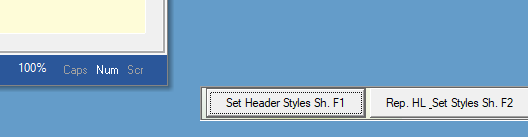
And in the picture below you see a horizontal PlugIn.
The code for a horinzontal PlugIn is:
' Plugin horizontal
PIS.$$REA|sh


Here you can see a vertical and horizontal Plugin-Buttonbar. Below you will find more Samples.
The following are Samples using a vertical Buttonbar:
The vertical Positions are calculated depending on the PlugIn-Size, and the Target-Window Size.
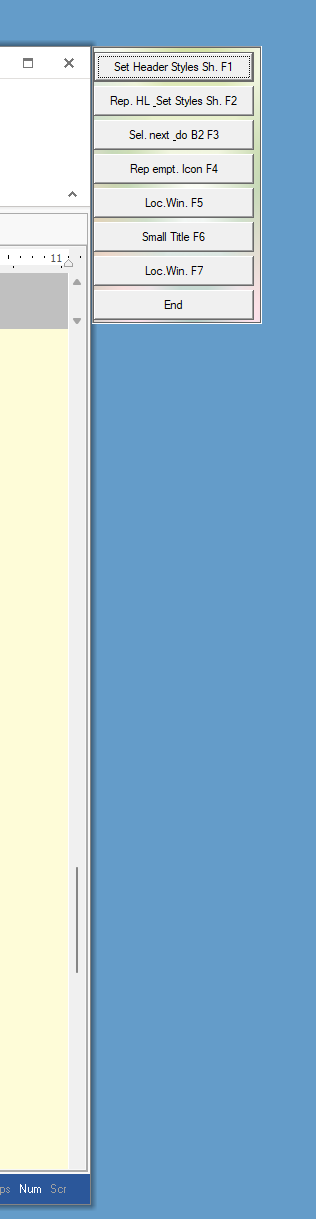
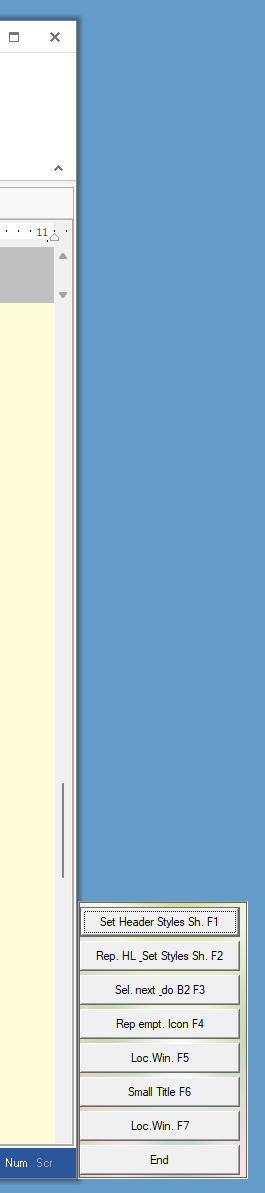
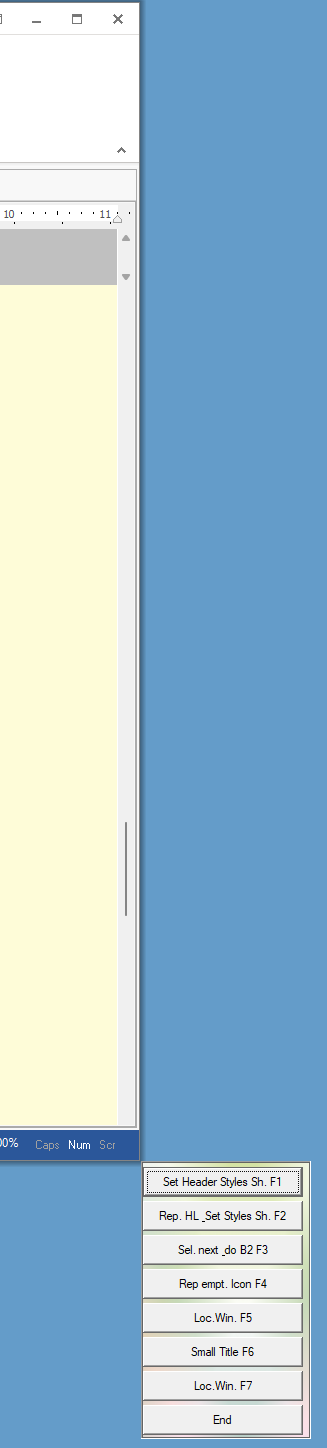


X= 1 2 3 4 5 6 7 8 9 10 11 12 13 14 15
PIS.$$PLG|sv
PIS.$$PLG|attach|$$HWN|2|X
The following are Samples using a horizontal Buttonbar:
PIS.$$PLG|sh
PIS.$$PLG|attach|$$HWN|X|6
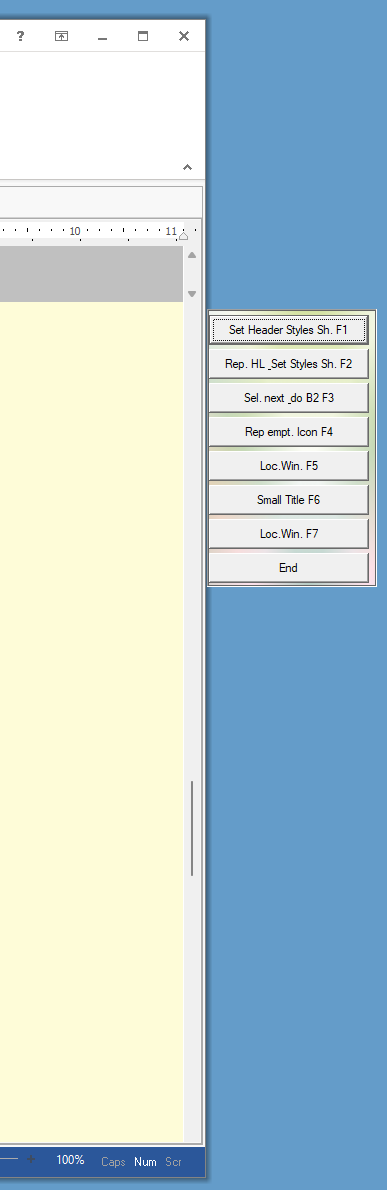
below you find the Values for "X"

X= 1 2 3

X= 4

X= 5

![]()
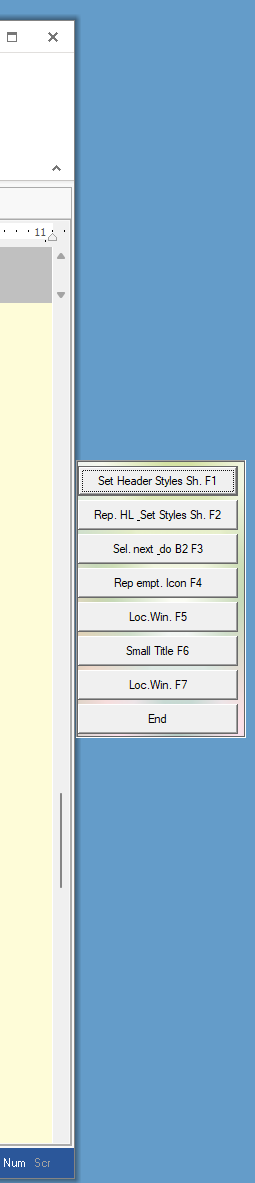
X= 6 7 (right Anchor)
![]()
![]()
X= 8 9


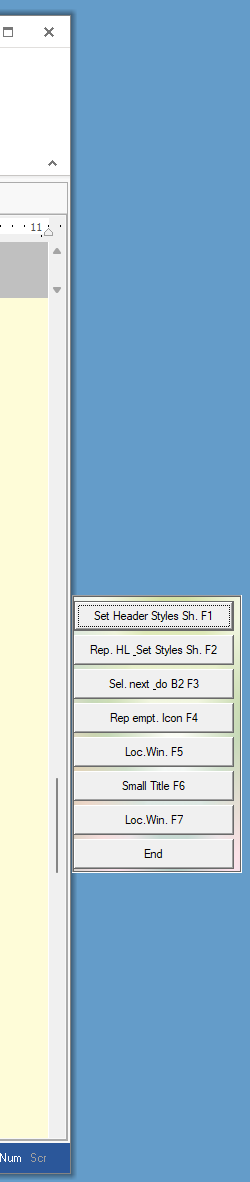
X= 10 (left Anchor) 11


X= 12 -> 16 Pixel Distance to the right Border 13 -> 16 Pixel Distance to the left Border

X= 14 (right Anchor)

X= 15 -> 32 Pixel Distance to the right Border 16 -> 32 Pixel Distance to the left Border
Important note:
Select the arrangement (horizontal/vertical) immediately after the PlugIn Launch.
Then add all needed Buttons. If you need to change the arrangement later, reduce the button-number to 1 and then after changing, add additional buttons.
Syntax
PIS.P1|attach|P2|P3|P4
PIS.P1|at|P2|P3|P4
PIS.P1|detach
PIS.P1|dt
Parameter Explanation
P1 - Variable which contains the PlugIn Index-No.
P2 - Window-Handle of Target Window
P3 - Position of Buttonbar relative to Target-Window
1 - Left Side Outside the Window
2 - Right Side Outside the Window (default value, if omitted or zero)
3 - Left Side Inside the Window with Distance
4 - Right Side Inside the Window with Distance
5 - Left Side Inside the Window
6 - Right Side Inside the Window
... 16 (see above)
P4 - X/Y-Position of Buttonbar relative to Side
1 - Top-Side, Inside
2 - Top Quarter
3 - Middle
4 - Lower Middle
5 - Down-Side Inside
6 - Down-Side Outside
7 - Top-Side Outside
... 15 (see above)
Some of the values set The anchor on the left side of the Target Window, some set the Anchor on the right side.
Example
'*********************************
' Vertical Plugin-Sample
'*********************************
'VAR.$$PIC=24_about.bmp
EXO.iexplore
PIL.$$REA|01
' use any window to attach the plugin
STW.t|explorer
' Store the window handle in a variable
HTV.$$ULT
PIS.$$REA|sbhd|4
' Plugin vertikal anordnen
PIS.$$REA|sv
' Make the PlugIn visible
PIS.$$REA|show
' attach the Plugin to the window
PIS.$$REA|attach|$$ULT|0|0
' Set text on Button 1
FOR.$$CNT|1|20
PIS.$$REA|sBt|$$CNT|Btn.$$CNT
NEX.
' Show a picture on Button 2
'PIS.$$REA|sp|2|$$PIC
' Set Distance between buttons (vertical in Points)
PIS.$$REA|sbvd|4
PIS.$$REA|sbn|1
' This double Loop will Show more or less buttons
FOR.$$LOA|1|2
FOR.$$LOP|1|20
PRT.->$$LOP
PIS.$$REA|sbn|$$LOP
PAU..2
NEX.
NEX.
PAU.2
:enz
END.
Remarks
You can use up to 5 Plugins at the same time.
Just start them, each will get another Index.
To communicate with each PlugIn, you just give the PlugIn-Index to each Command.
Button-Colors and transparency:
Please note that if you set Buttons transparent, that they can not have a background-color at the same time.
To set multiple Buttontext at once you can use:
PIS.$$PIN|sbt|all|Button %n
The "%n" is replaced with the number of that button.
The "all" and %n-scheme will also work with most other Commands, where it makes sense.
Technically the Anchoring Points are defined like this:
x,y - size of Plugin-Buttonabar
nleft means the Anchor is on the left side of the Target Window, nRight means the Anchor is on the right side.
CASE 1:xt=r2.nleft-x ' links ausserhalb des Fensters
CASE 2:xt=r2.nright+1 ' rechts ausserhalb des fenster
CASE 3:xt=r2.nleft+(x/2) ' links mitte
CASE 4:xt=r2.nright-(x/2) ' rechts mitte
CASE 5:xt=r2.nleft ' links innerhalb
CASE 6:xt=r2.nright-x ' rechts innerhalb
CASE 7:xt=r2.nright-(x/4) ' rechts mitte
CASE 8:xt=r2.nright-((x/4)*3) ' rechts mitte
CASE 9:xt=r2.nleft+(x/4) ' rechts mitte
CASE 10:xt=r2.nleft+((x/4)*3) ' rechts mitte
CASE 7:xt=r2.nright+(x/4) ' rechts mitte
CASE 8:xt=r2.nright+((x/4)*3) ' rechts mitte
CASE 9:xt=r2.nleft-(x/4) ' rechts mitte
CASE 10:xt=r2.nleft-((x/4)*3) ' rechts mitte
CASE 11:xt=r2.nleft-((x/8)*7)
CASE 12:xt=r2.nright+16
CASE 13:xt=r2.nleft-x-16
CASE 14:xt=r2.nright-((x/8)*7)
CASE 15:xt=r2.nleft-x-32
CASE 16:xt=r2.nright+32
CASE 1:yt=r2.ntop ' Fenster oben anlegen, innerhalb
CASE 2:yt=r2.ntop+(T08/4) ' oberes viertel
CASE 3:yt=r2.ntop+(T08/2)-(y/2) ' mitte anlegen
CASE 4:yt=r2.ntop+(T08/2) ' mitte unten anlegen
CASE 5:yt=r2.nbottom-y ' unten ausserhalb
CASE 6:yt=r2.nbottom ' unten ausserhalb anlegen
CASE 7:yt=r2.ntop-(y+1) ' Fenster oben anlegen, ausserhalb
CASE 8:yt=r2.ntop+(T08/4)-(y/2) ' oberes viertel minus Pluginsize
CASE 9:yt=r2.ntop+(T08/8) ' oberes achtel
CASE 10:yt=r2.ntop+(T08/8)-(y/2) ' oberes achtel-Plugin-Size
CASE 11:yt=r2.ntop+(T08/8)+(y/2) ' oberes achtel+Plugin-Size
CASE 12:yt=r2.ntop+(T08/4)-(y/2) ' oberes viertel minus Pluginsize
CASE 13:yt=r2.nbottom-(T08/8)-y ' oberes achtel
CASE 14:yt=r2.nbottom-(T08/8)-(y*1.5) ' oberes achtel-Plugin-Size
CASE 15:yt=r2.nbottom-(T08/8)-y ' oberes achtel+Plugin-Size
Limitations:-
-
See also:
•